An Introduction To A Drysuit
A drysuit can really make or break your experience of winter watersports.
Whether you’re dinghy sailing, kayaking or kitesurfing, this is a piece of kit that will determine how long you can stay on the water for when temperatures are low.
The important thing to remember about a drysuit, is that its primary function is to keep you dry (the clue is in the name), but not necessarily warm.
Of course, by keeping all that cold water out you will be warmer on the water, and this waterproof shell will also provide protection from windchill as well.
However, layering up correctly under your drysuit is essential. You can find out more about layering under a drysuit here.

Typically, drysuits will be used in the UK from September through to April.
This will vary across Europe or wherever else you might be heading out on the water – if you’re in Scandinavia, chances are you’ll be needing a drysuit all year round.
When you’re buying a drysuit, there’s a few things you need to consider. A surface drysuit is perfect for sports such as dinghy sailing, kayaking, yachting, kitesurfing and jet skiing. If you’re planning to go diving, make sure you buy a suit designed specifically for diving, as you’ll need something a little more heavy duty.
At Wetsuit Outlet, we stock drysuit for all budgets, whether you’re looking for entry-level, mid-range or high-end. Think about how much you’ll be using your drysuit and for which sport and which conditions to work out which is best for you.
For example, if you’re a watersports newbie, it’s worth starting off with a more basic model that will have all of the essential features, but without breaking the bank.
If you’re a die-hard enthusiast who’ll be on the water every other day throughout the winter, then it’s well worth investing in a high-quality, durable suit that will cope with the worst of the elements.
You can browse all of our drysuits for a range of watersports here.

Materials
Fabric
Nowadays, most drysuits will be fully breathable to allow the moisture out of the suit as you sweat on the inside.
If this moisture wasn’t able to escape, it would leave you feeling damp and cold on the inside, which would defeat the point of the drysuit.
Mid-range and high-end drysuits tend to be made from more breathable, durable and lighter fabrics, as they are used by more active and regular users, who need higher performing materials to support their regular activity.
Seals
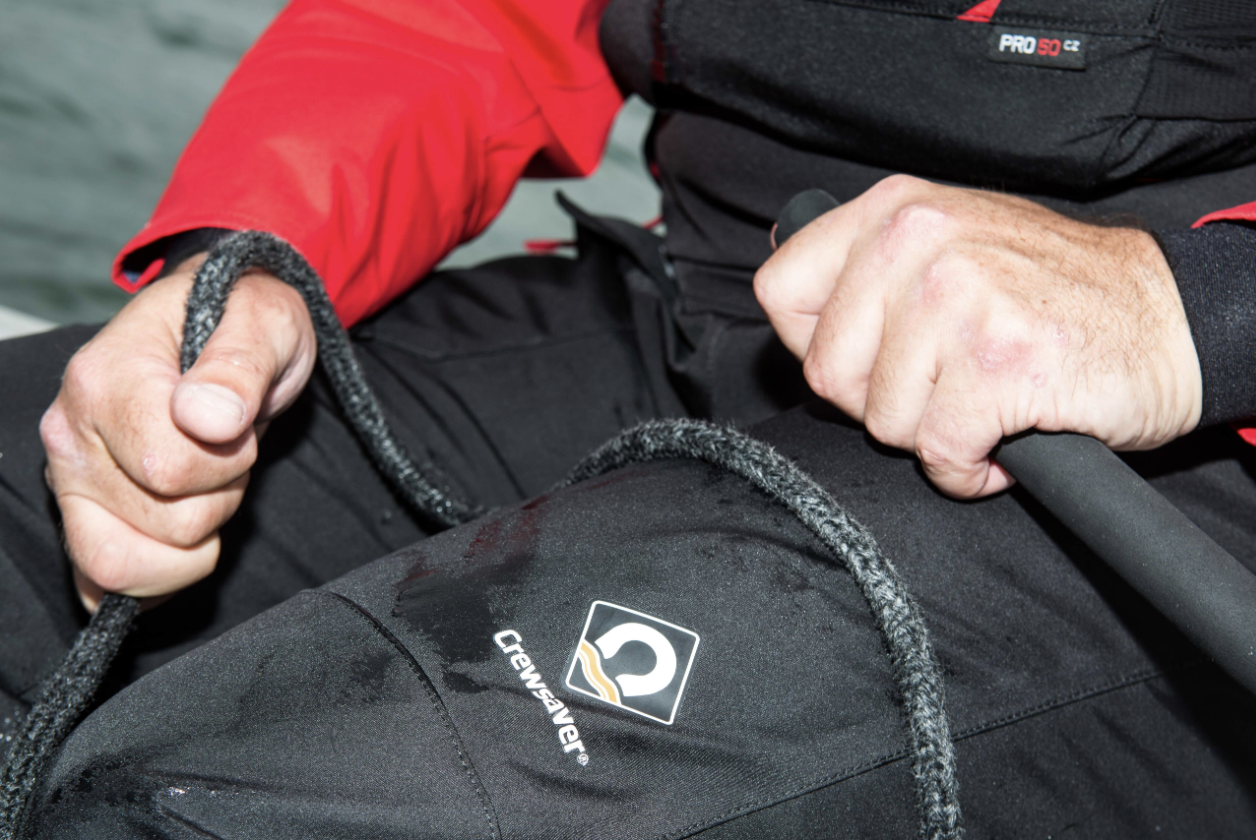
There are two types of seals:
Type 1: Neoprene
Most surface drysuits use neoprene seals as they provide a seal almost as good as traditional latex, with additional benefits such as added warmth, comfort, fit and most of all durability.
Type 2: Latex
Latex comes into its element when under impact, providing a better overall seal than neoprene.
Another benefit of latex is that you can cut it to size if necessary, ensure you get a personalised fit on the seals, where it really counts.
Some high-end kayak drysuits use double latex and neoprene seals to ensure they are extra watertight and also increase the protection and durability of the seal.
Socks
Drysuits have built-in socks, which are often latex on an entry-level suit, whereas something more high-end might have built-in fabric socks, which are more durable and warmer. Latex socks are similar to latex seals, whereby they are beneficial under impact, but have a tendency to rip easily.
It’s important to highlight that the socks on a drysuit are not a substitute for boots.
A neoprene boot will ensure either a latex or fabric sock is protected, but watch out for getting the sock caught in a zipped boot.
Zips
There are two types of materials used for zips: Metal and plastic.
Metal zips are more traditional and require a bit of maintenance as they are prone to rust from the constant contact with saltwater.
Plastic zips are relatively new. They are lighter and don't require a lot of attention given that plastic doesn't rust.
How to put a drysuit on
Now that you know the key materials of a drysuit, you should learn how to put one on.
They're not as easy as they look, and require a few steps in order to ensure it's fitting you perfectly.
In the step-by-step guide below, our drysuit expert Will is demonstrating wearing our exclusive Yak Vanguard Whitewater / Kayak Drysuit which includes an underfleece.
Step 1: Make sure you're wearing the appropriate kit underneath your drysuit. Ensure your undergarment is breathable, warm and close fitting.
Step 2: Release the zip system. The Zak Vanguard has a back zip system which goes across your shoulder blades.
Step 3: Make sure the zip is fully open to give you the most space to climb into.
Step 4: Climb into legs first. Tip: It's easier to do if you're sitting down.
Step 5: Make sure the sock is on correctly, and pull all the way up to your knee, before doing the exact same with the other leg. Once both legs are up to your knees, pull all the way up to your waist.
Step 6: Once your drysuit is up to your waist and sitting nicely, you need to get your arms in. Once you’ve located the sleeves, place your arms in and ensure the seal is sitting perfectly around your wrist.
Note: The wrist seal should feel tight. Repeat the process with your other arm.
Step 7: Work the drysuit up to the shoulders.
Step 8: Place the head seal (neck seal) over your head. Tip: Stretch the head seal as far apart as you can in order to get your head through the opening.
It will feel slightly uncomfortable doing this process. Ensure that it's sitting securely around your neck.
Step 9: Get the back-zip done up. This can be done by asking someone to do it for you, or use a nail on the wall to stretch it across, or attach a longer string to the zip so you can pull it across yourself.
Step 10: Once the drysuit is fully put on it's time to release all the air. This is a very important safety measure, as an air-filled drysuit will make you float, but not necessarily the way you want to – if all the air goes to your feet, you’ll be in trouble.
To squeeze out the air, place your hands on either side of the head seal, crouch down as low as you can and try hugging your legs as tightly as you can, until all the air has been released from your drysuit.
When you stand back up it should be fitting much better than before the air was released.
Step 11: It's time to get on the water!

Updated on 25th October 2024
Originally published on 17th September 2018 in Drysuit Guides










 Visit the US site
  Continue to ES